VS Code and IntelliJ with CodeReady Workspaces v2.15 (Tech Preview)
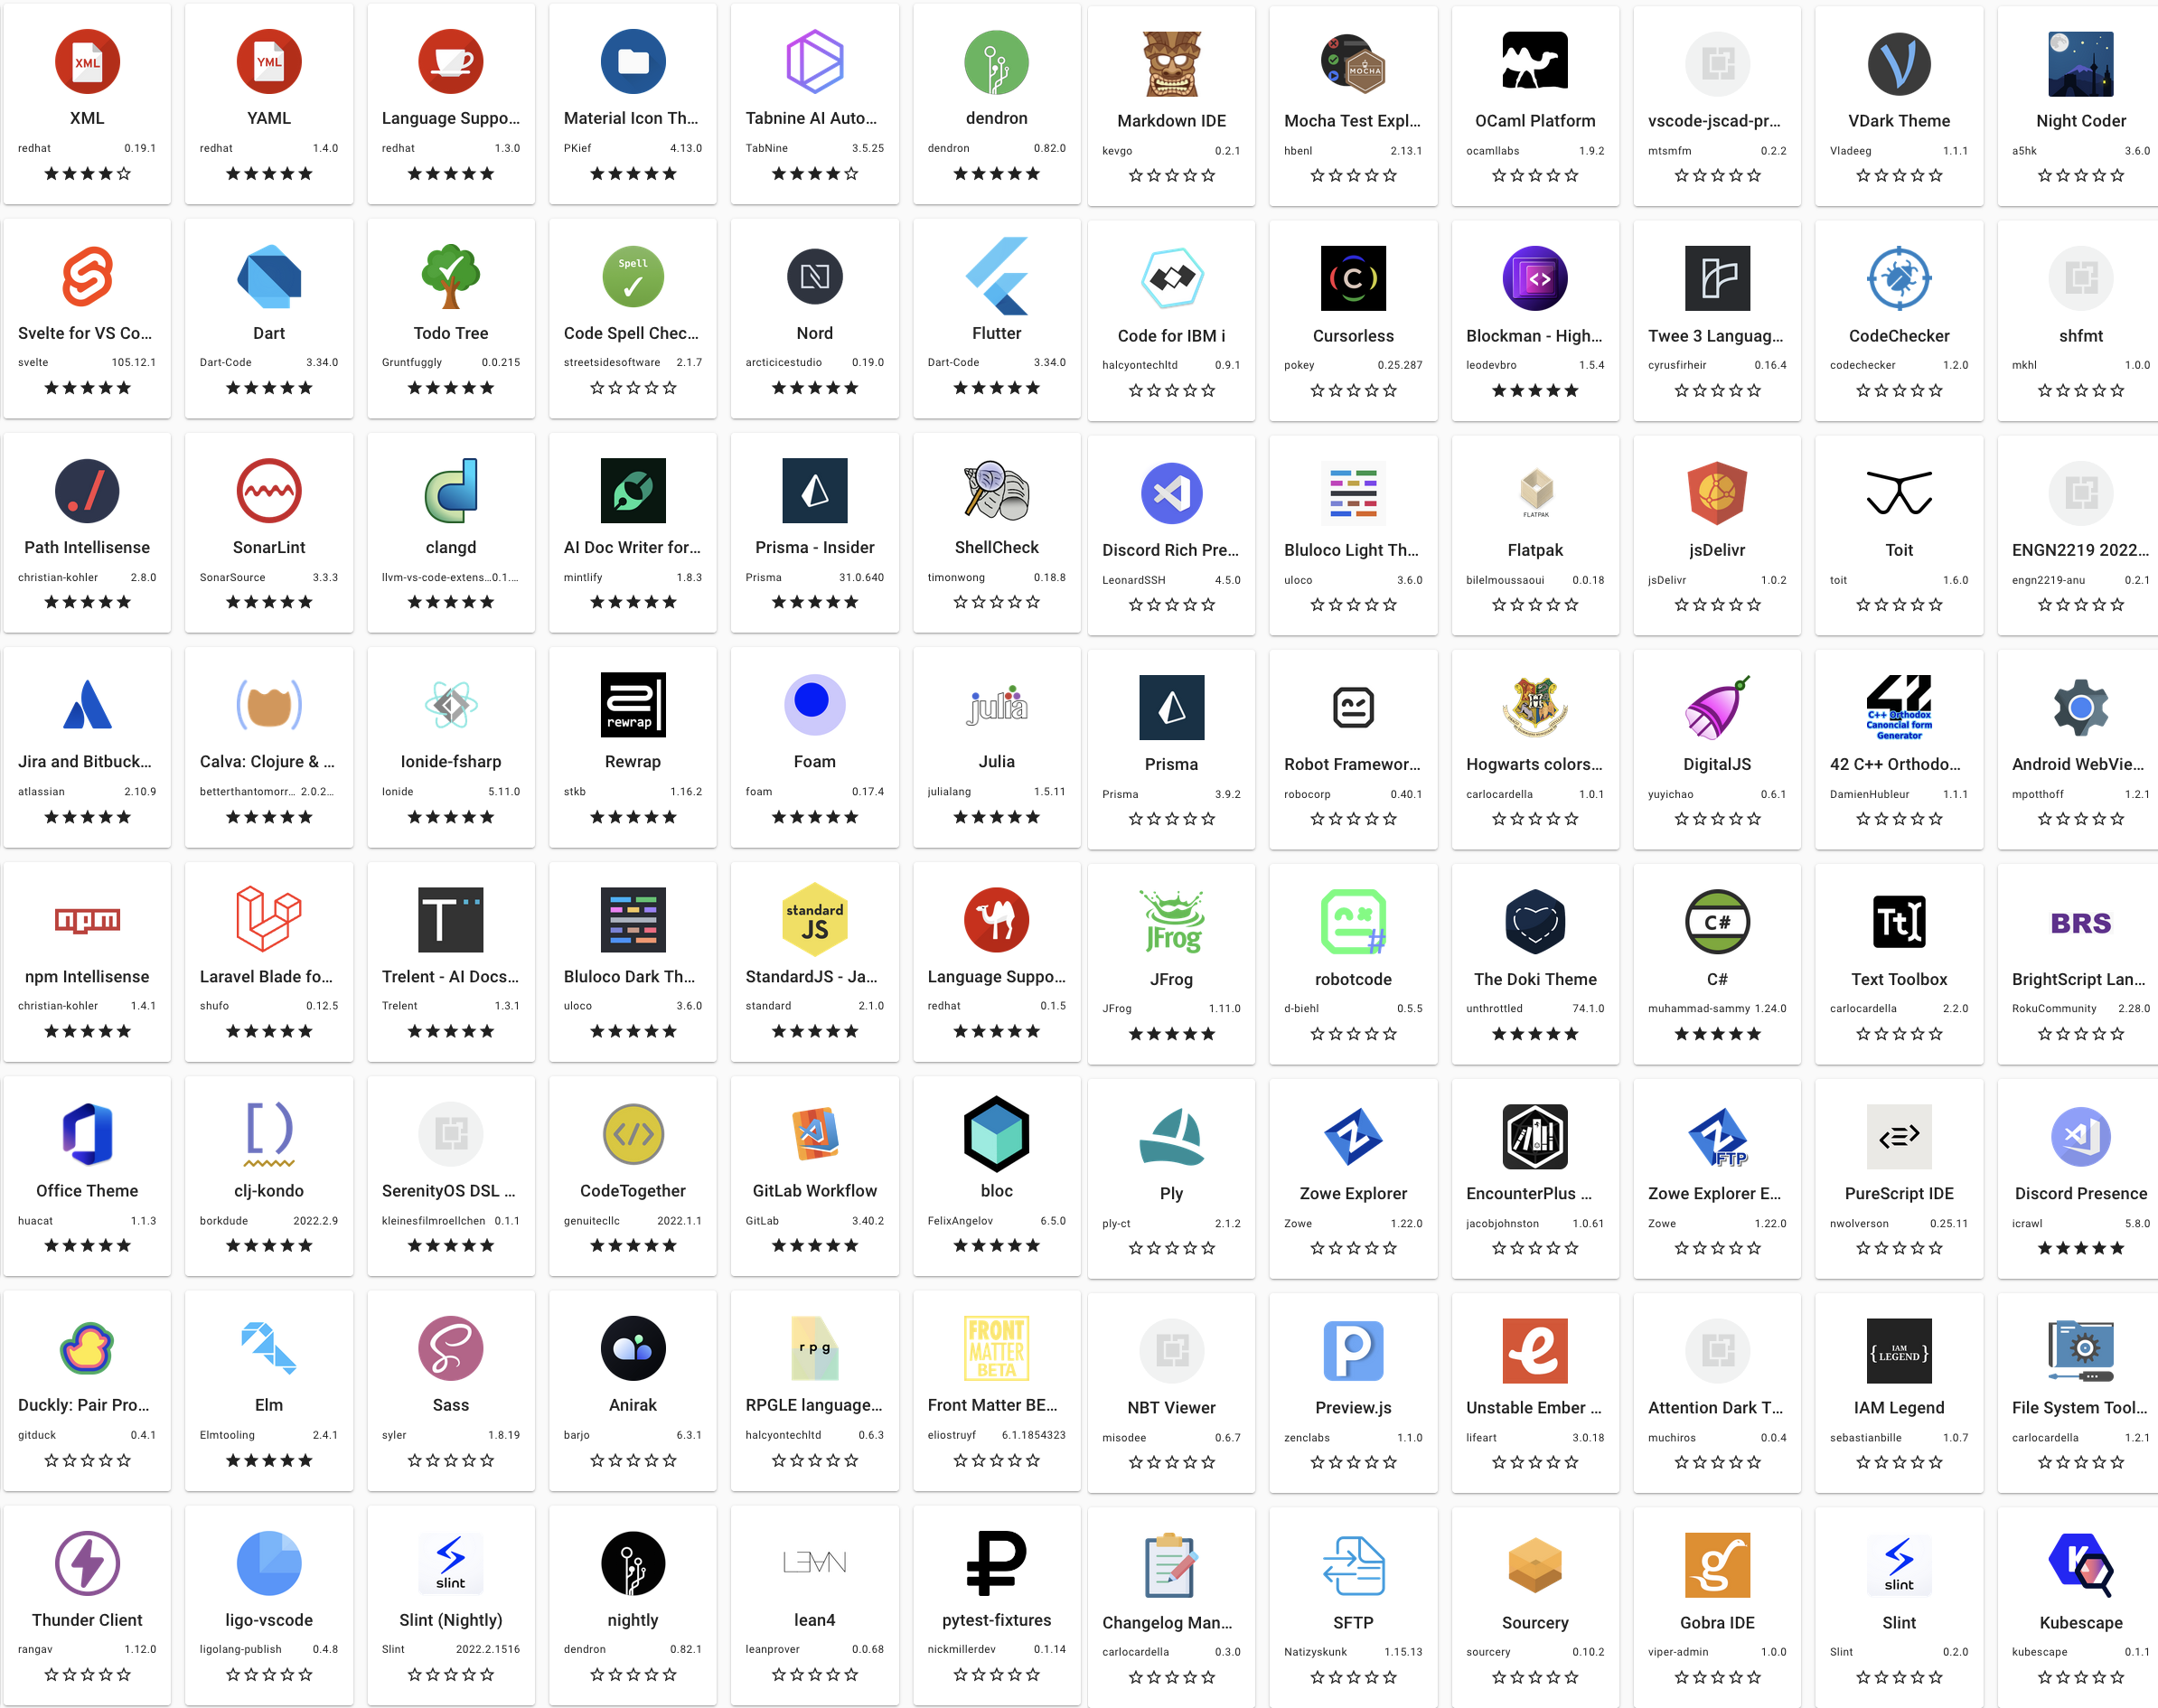
The number of Visual Studio Code extension that run properly in Eclipse Theia, the default IDE in CodeReady Workspaces, is limited. That has been our main issue for the last 3 years. Developers don't care much about the editor itself (Visual Studio Code or Eclipse Theia) but they want to run the myriad of extensions that are available out there. And currently, the only sustainable alternative to accomodate this need is using Visual Studio Code - Open Source ("Code - OSS") with the Open VSX Registry.
Another observation is that JetBrains IDEs are a popular among professional developers. In this case the specialization of the IDEs such as IntelliJ or PyCharm, designed to support one unique language, is the main reason for their success. And, in this case as well, there are no real alternatives but using JetBrains Projector to run JetBrain IDEs in a container.
Given those considerations we are adding VS Code and IntelliJ as full supported editors starting from CodeReady Workspaces v2.16 (planned for the 29th of March). There will be a separate post about that release (you can refer to these slides in the meantime). In this article we will provide the instructions to access the Tech Preview version of CodeReady Workspaces v2.15 and to start a VS Code or IntelliJ based workspace.
👉 The following instructions are not supposed to be tried in production. Most of the features described are still work in progress and can get broken at any time.
Subscribe to the Technical Preview Operator
On OperatorHub there are currently 2 CodeReady Workspaces operators:
- Red Hat CodeReady Workspaces
- Red Hat CodeReady Workspaces - Technical Preview
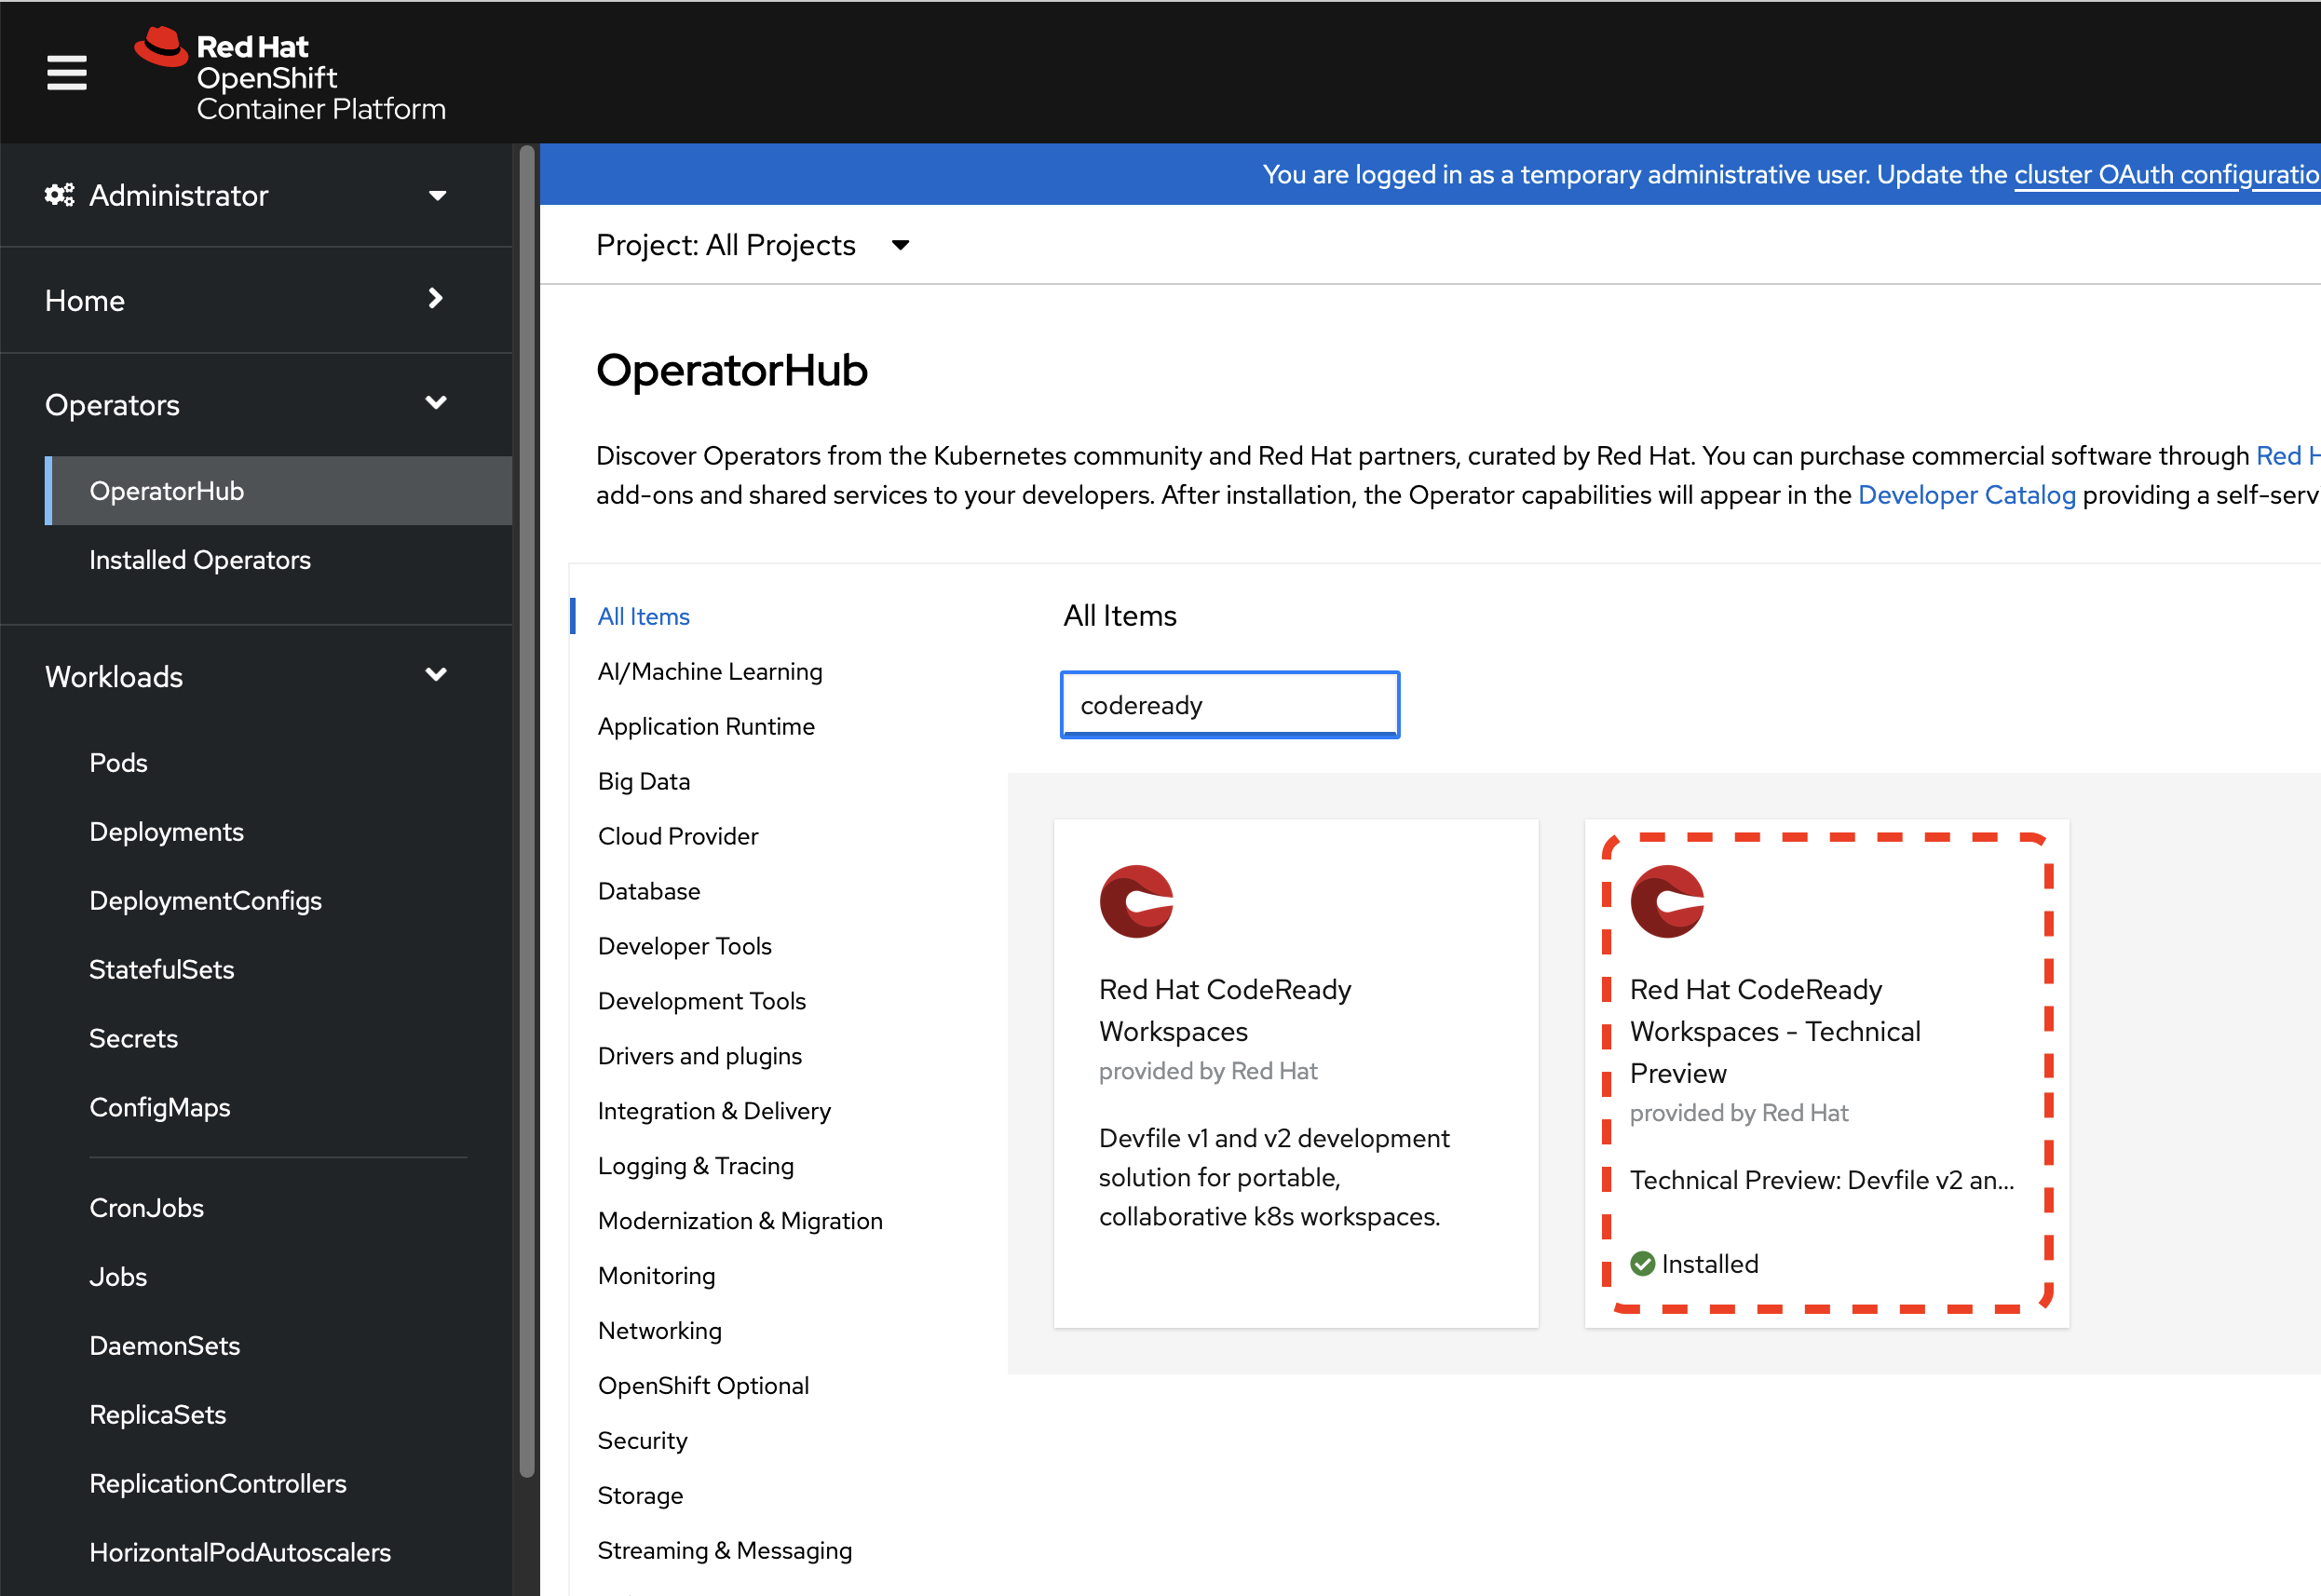
Select the Technical Preview operator shown above and install it to be able to run VS Code and IntelliJ based workspaces.
Create a CheCluster instance
When the Operator is installed, the next step is to create a CheCluster instance. That will deploy the server-side components of CodeReady Workspaces.
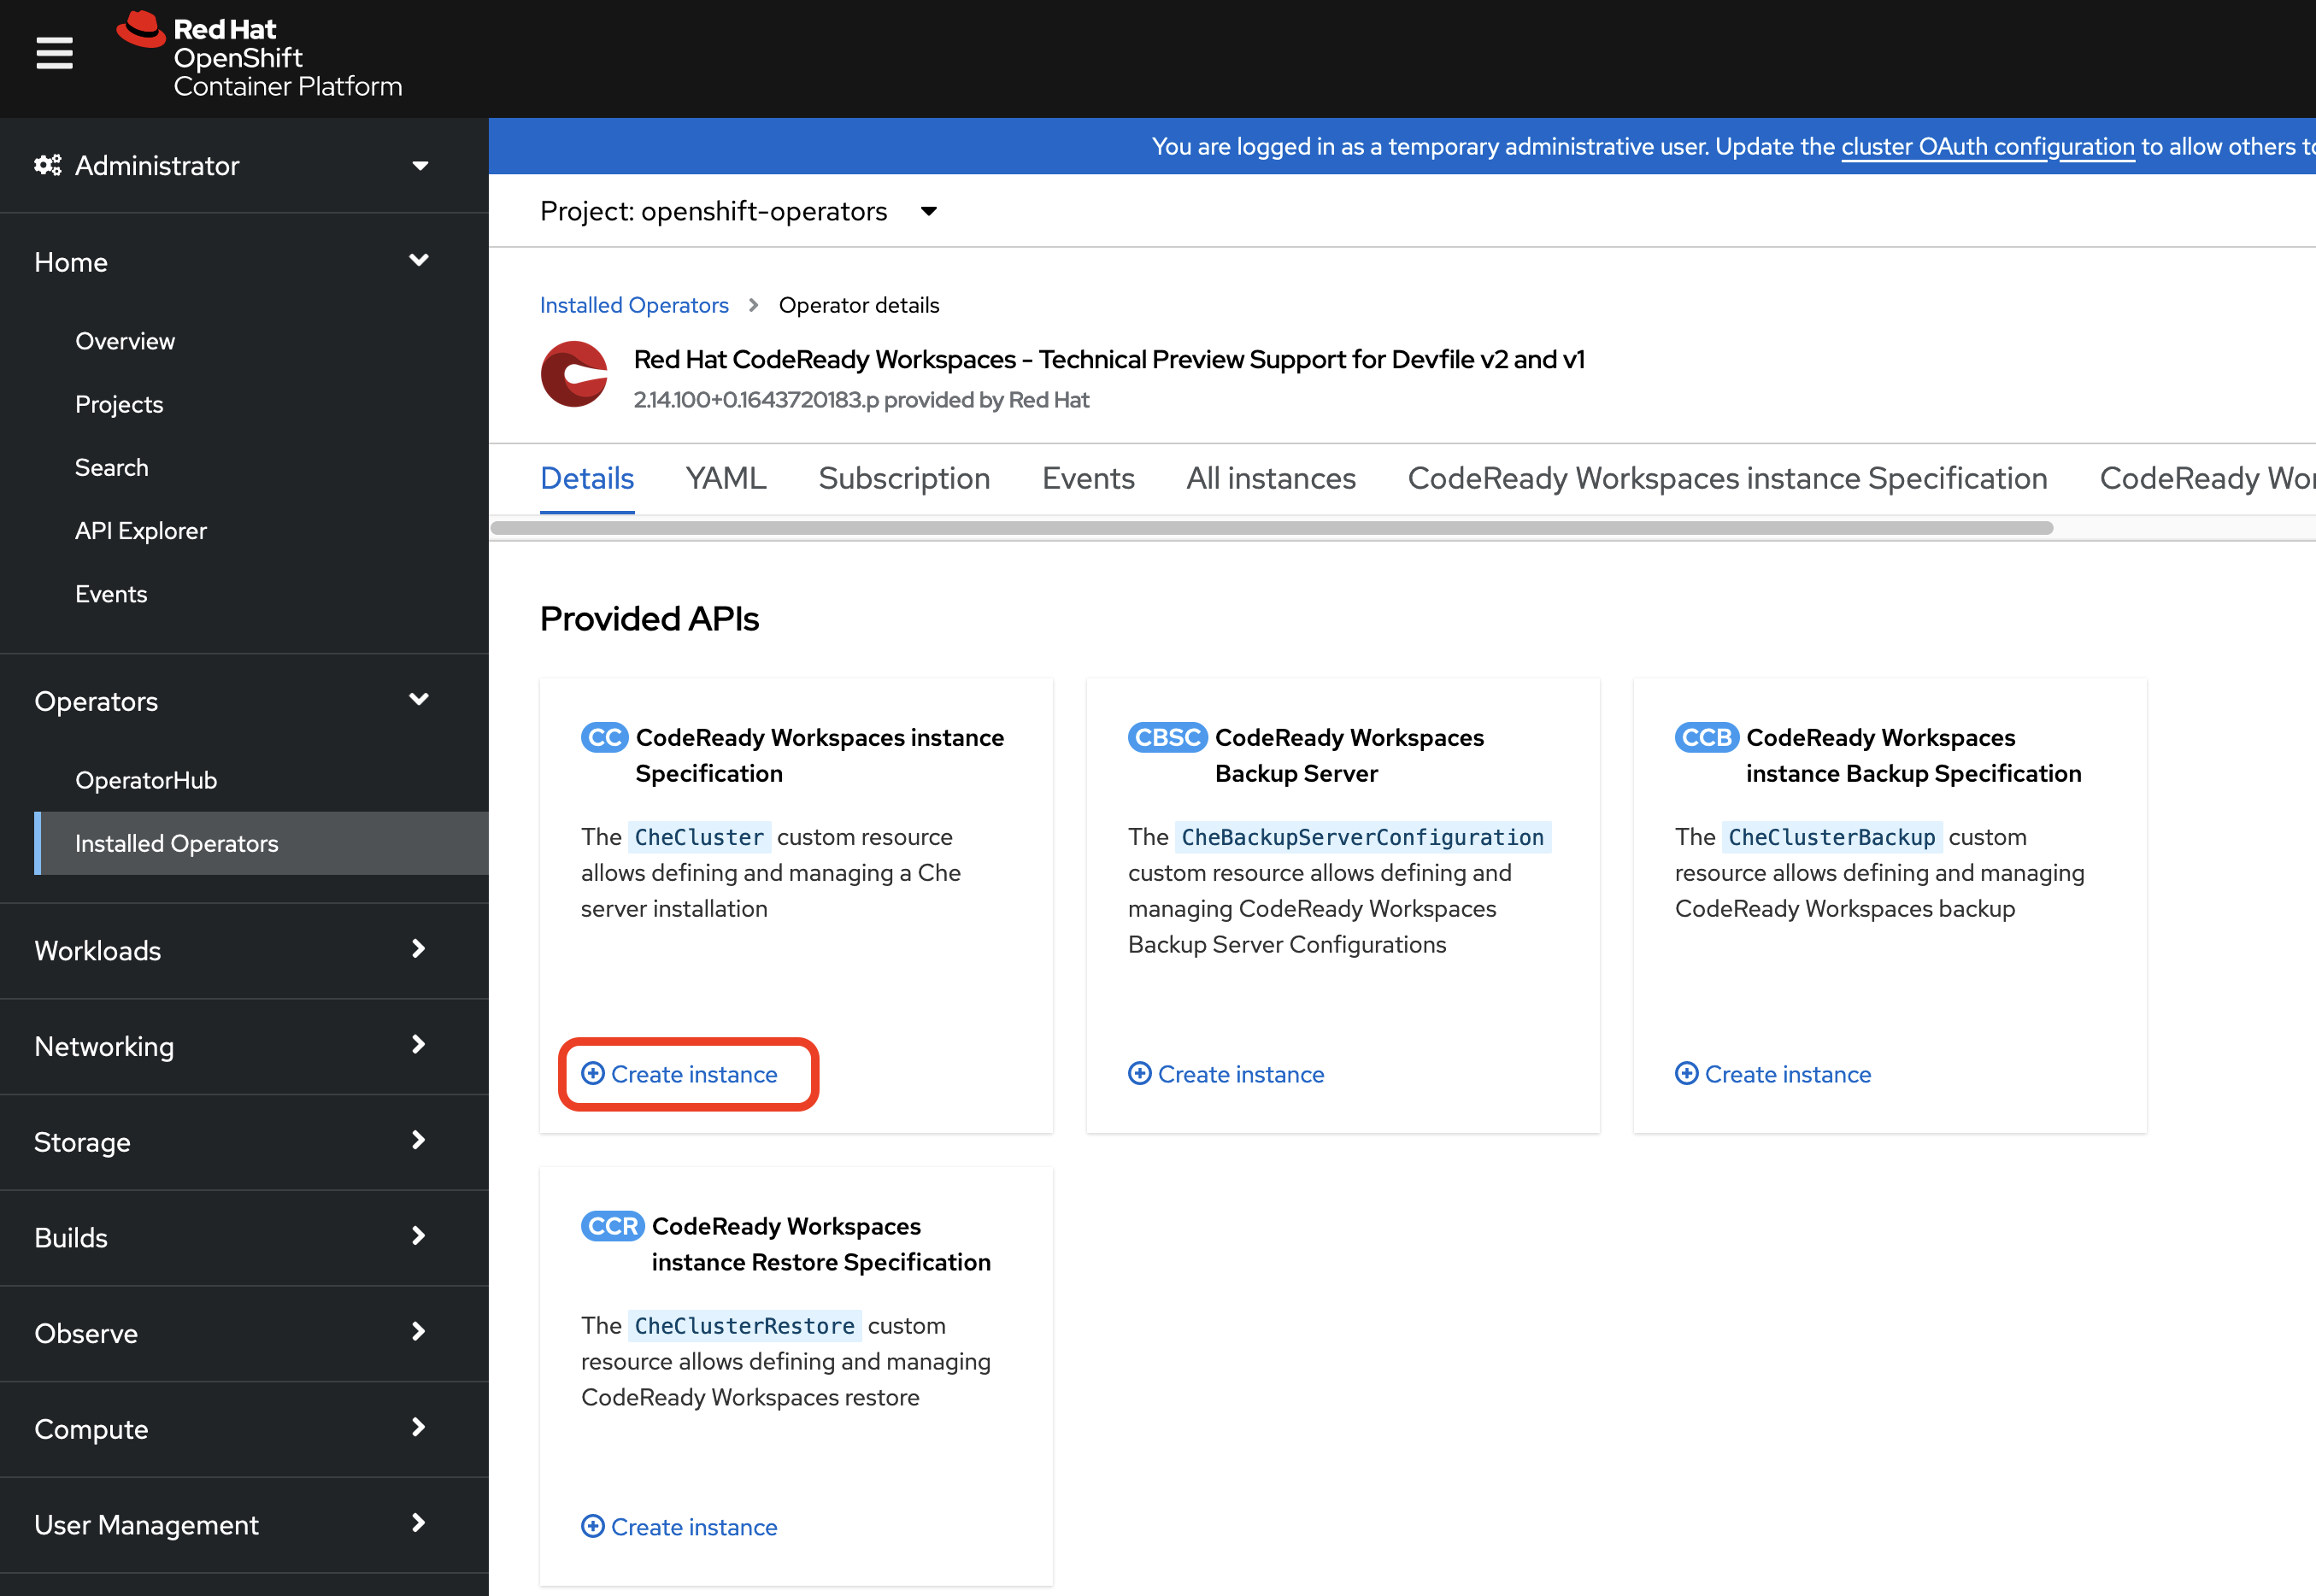
There is no need to change the default values of the CheCluster creation form. Just select "create" to move forward. It will take a few minutes to deploy the CodeReady Workspaces instance. When the deployment is complete the CodeReady Workspaces URL appears in the CheCluster details page.

Click on the URL to login and access the user dashboard.
Add a devfile.yaml and .che/che-editor.yaml
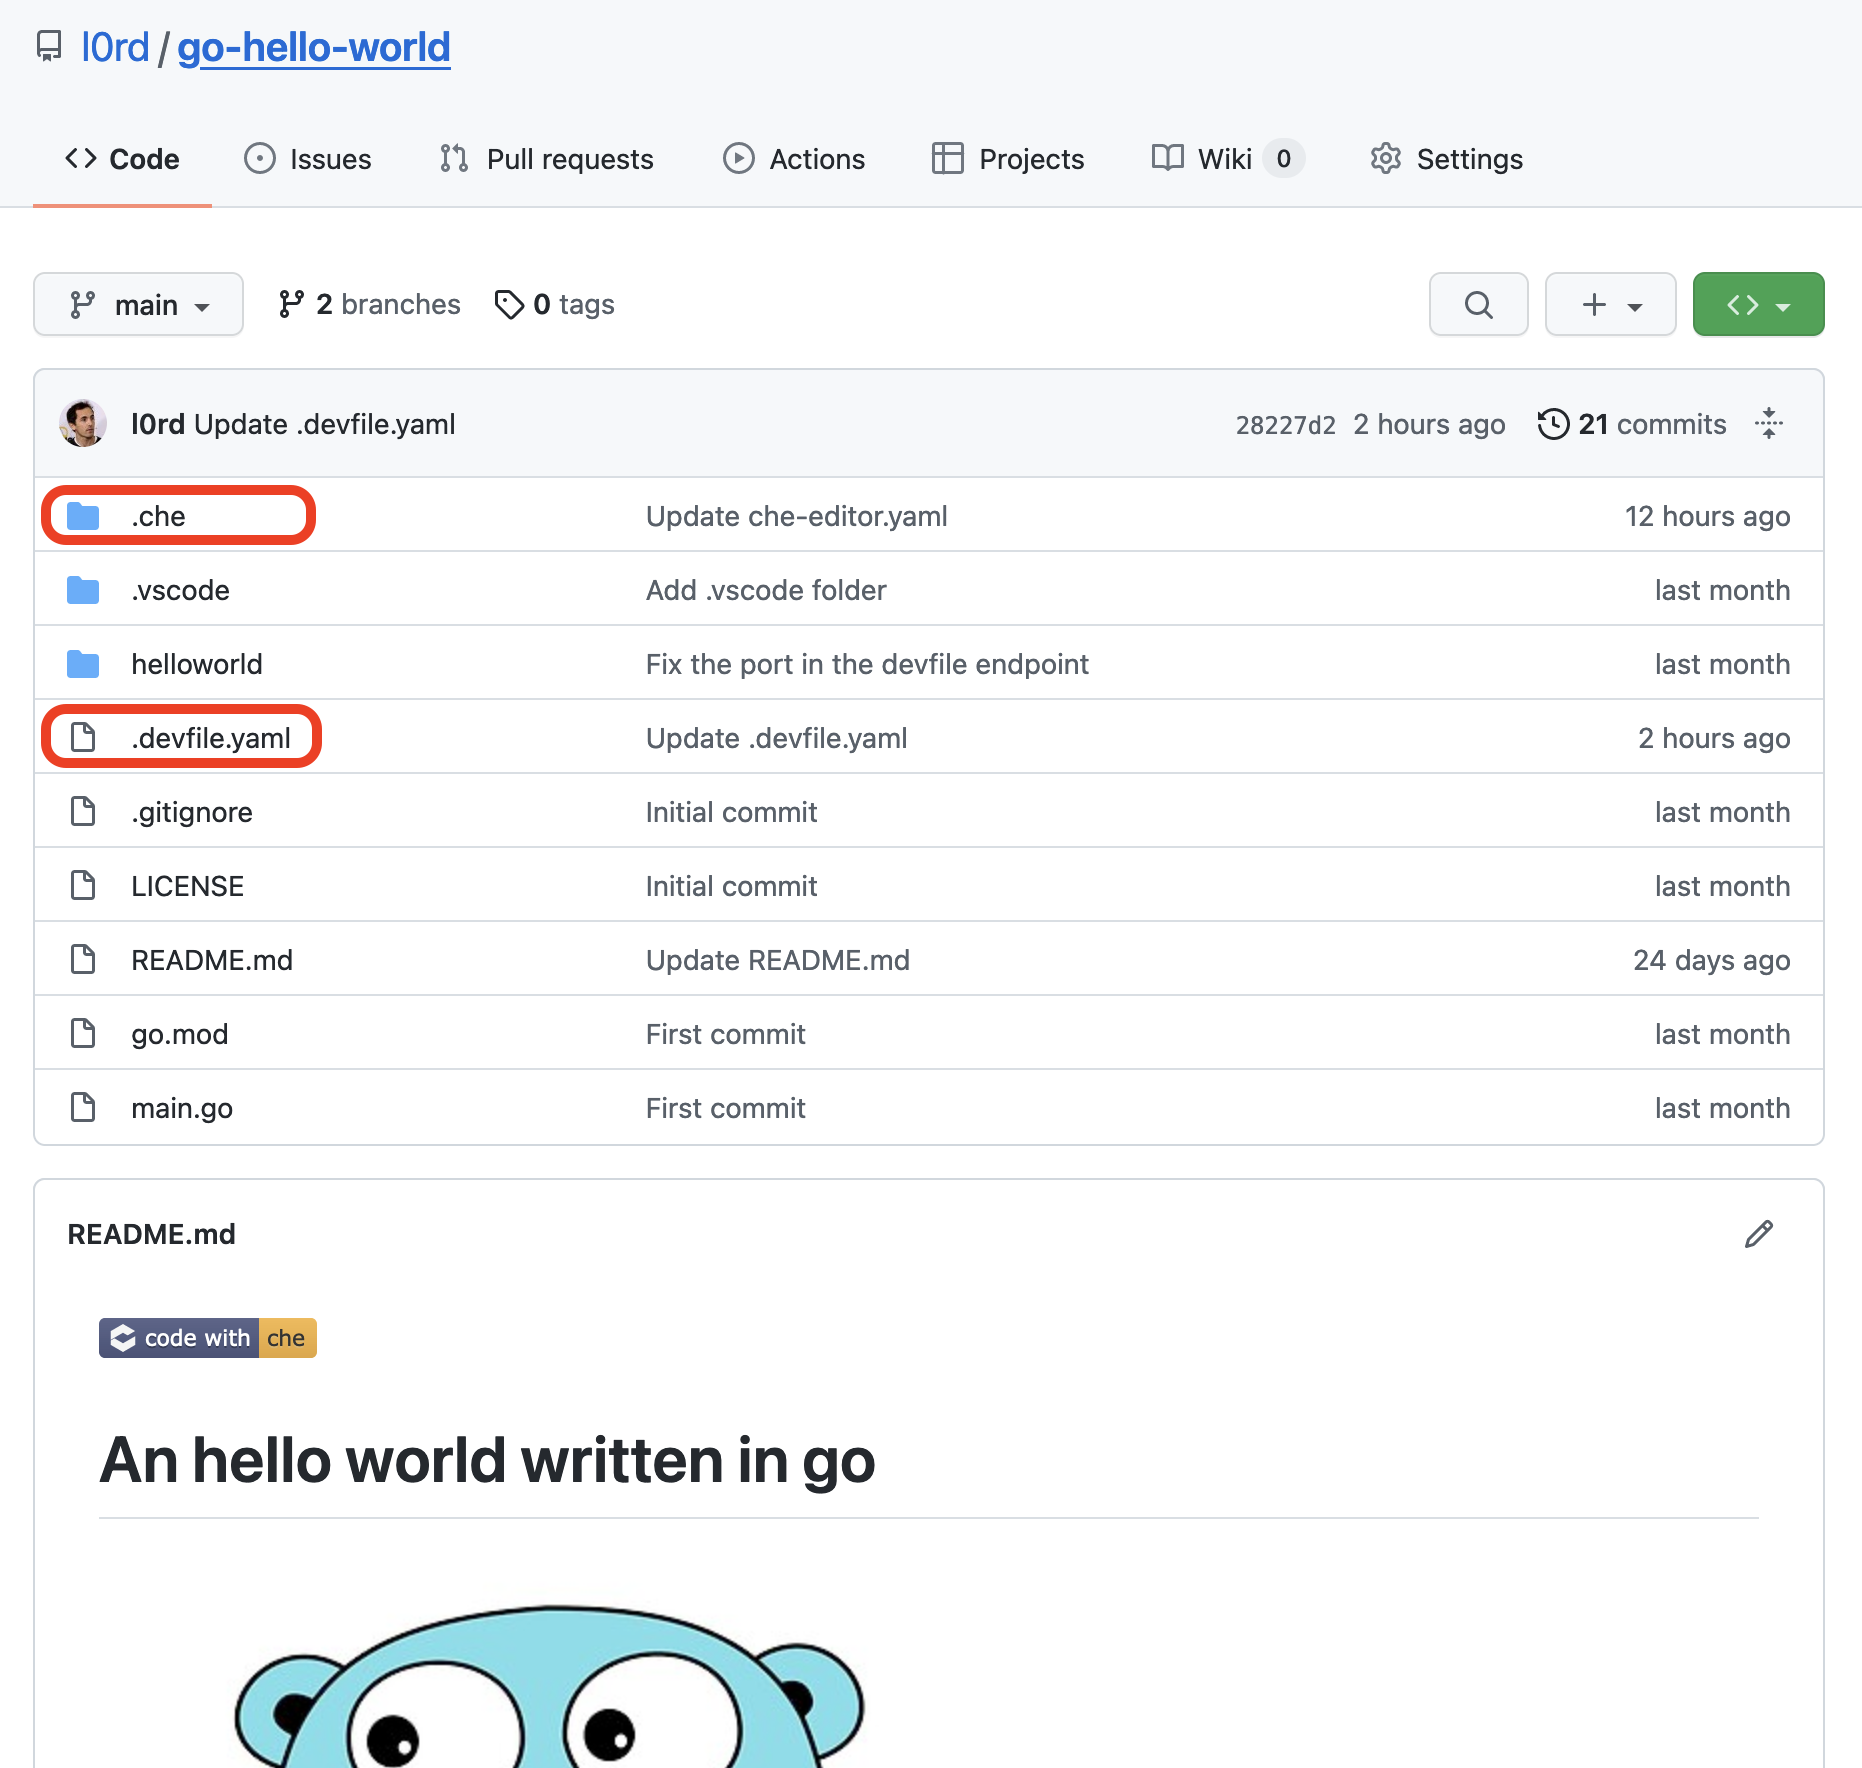
A couple of files need to be added in the git repository, close to the application source code:
.
├── .che
│   └── che-editor.yaml
├── .devfile.yaml
(...application sources...)
The devfile
A devfile defines a containerized development environment: containers, volumes, commands etc...The Devfile is a CNCF Sandbox project and the full specification of the file format is here.
A simple devfile as the following one should work for most projects.
schemaVersion: 2.1.0
metadata:
  name: universal-space
components:
  - name: universal-tooling-container
    container:
      image: quay.io/devfile/universal-developer-image:ubi8-0e189d9
      endpoints:
        - name: webapp
          targetPort: 8080
      memoryLimit: 4Gi
  - name: projects
    volume:
      size: 3Gi
A few important notes:
- CodeReady workspaces supports Devfile
schemaVersionv2.1.0 or higher - The container image above has tools for the most populare languages but can be replaced to include pre-requisites for the application and for the VS Code extensions. But there are two rules to follow:
- The image has a non-terminating entrypoint OR in the devfile the entrypoint is overridden with a non-terminating command (as
tail -f /dev/null). - The image shoudl support arbitrary user ids (unprivileged and random).
- The image has a non-terminating entrypoint OR in the devfile the entrypoint is overridden with a non-terminating command (as
The che-editor file
The editor (VS Code, IntelliJ or Eclispe Theia) can be specified in this file.
For example to use VS Code:
id: che-incubator/che-code/insiders
registryUrl: https://eclipse-che.github.io/che-plugin-registry/main/v3
And to use IntelliJ:
id: che-incubator/intellij-community/latest
registryUrl: https://eclipse-che.github.io/che-plugin-registry/main/v3
The registry specified in both examples is Eclipse Che registry, the upstream version of the CodeReady Workspaces registry. The CodeReady Worksapces registry cannot be used yet because VS Code is not included yet.
Note that the editor setting can be overridden by the users, through a Che URL parameter (c.f. this blog post). The Che URL is the URL to start a worskpace.
Open the Che URL to start the workspace
Starting a workspace in CodeReady Workspaces is just a matter of following a link like the following one:
https://<crw-url>/#<git-repository-url><crw-url> and <git-repository-url> need to be replaced with the values of your CodeReady Workspaces URL and the URL of the git repository with the source code and the .devfile.yaml:
For example, this is the URL I have used when I was preparing this blog post:
https://codeready-openshift-operators.apps.<ocp-url>/#https://github.com/l0rd/go-hello-worldWhen the URL is opened in a browser window, the IDE loads after a few seconds. Google Chrome, Mozilla Firefox and Safari are supported.
 A VS Code based workspace.
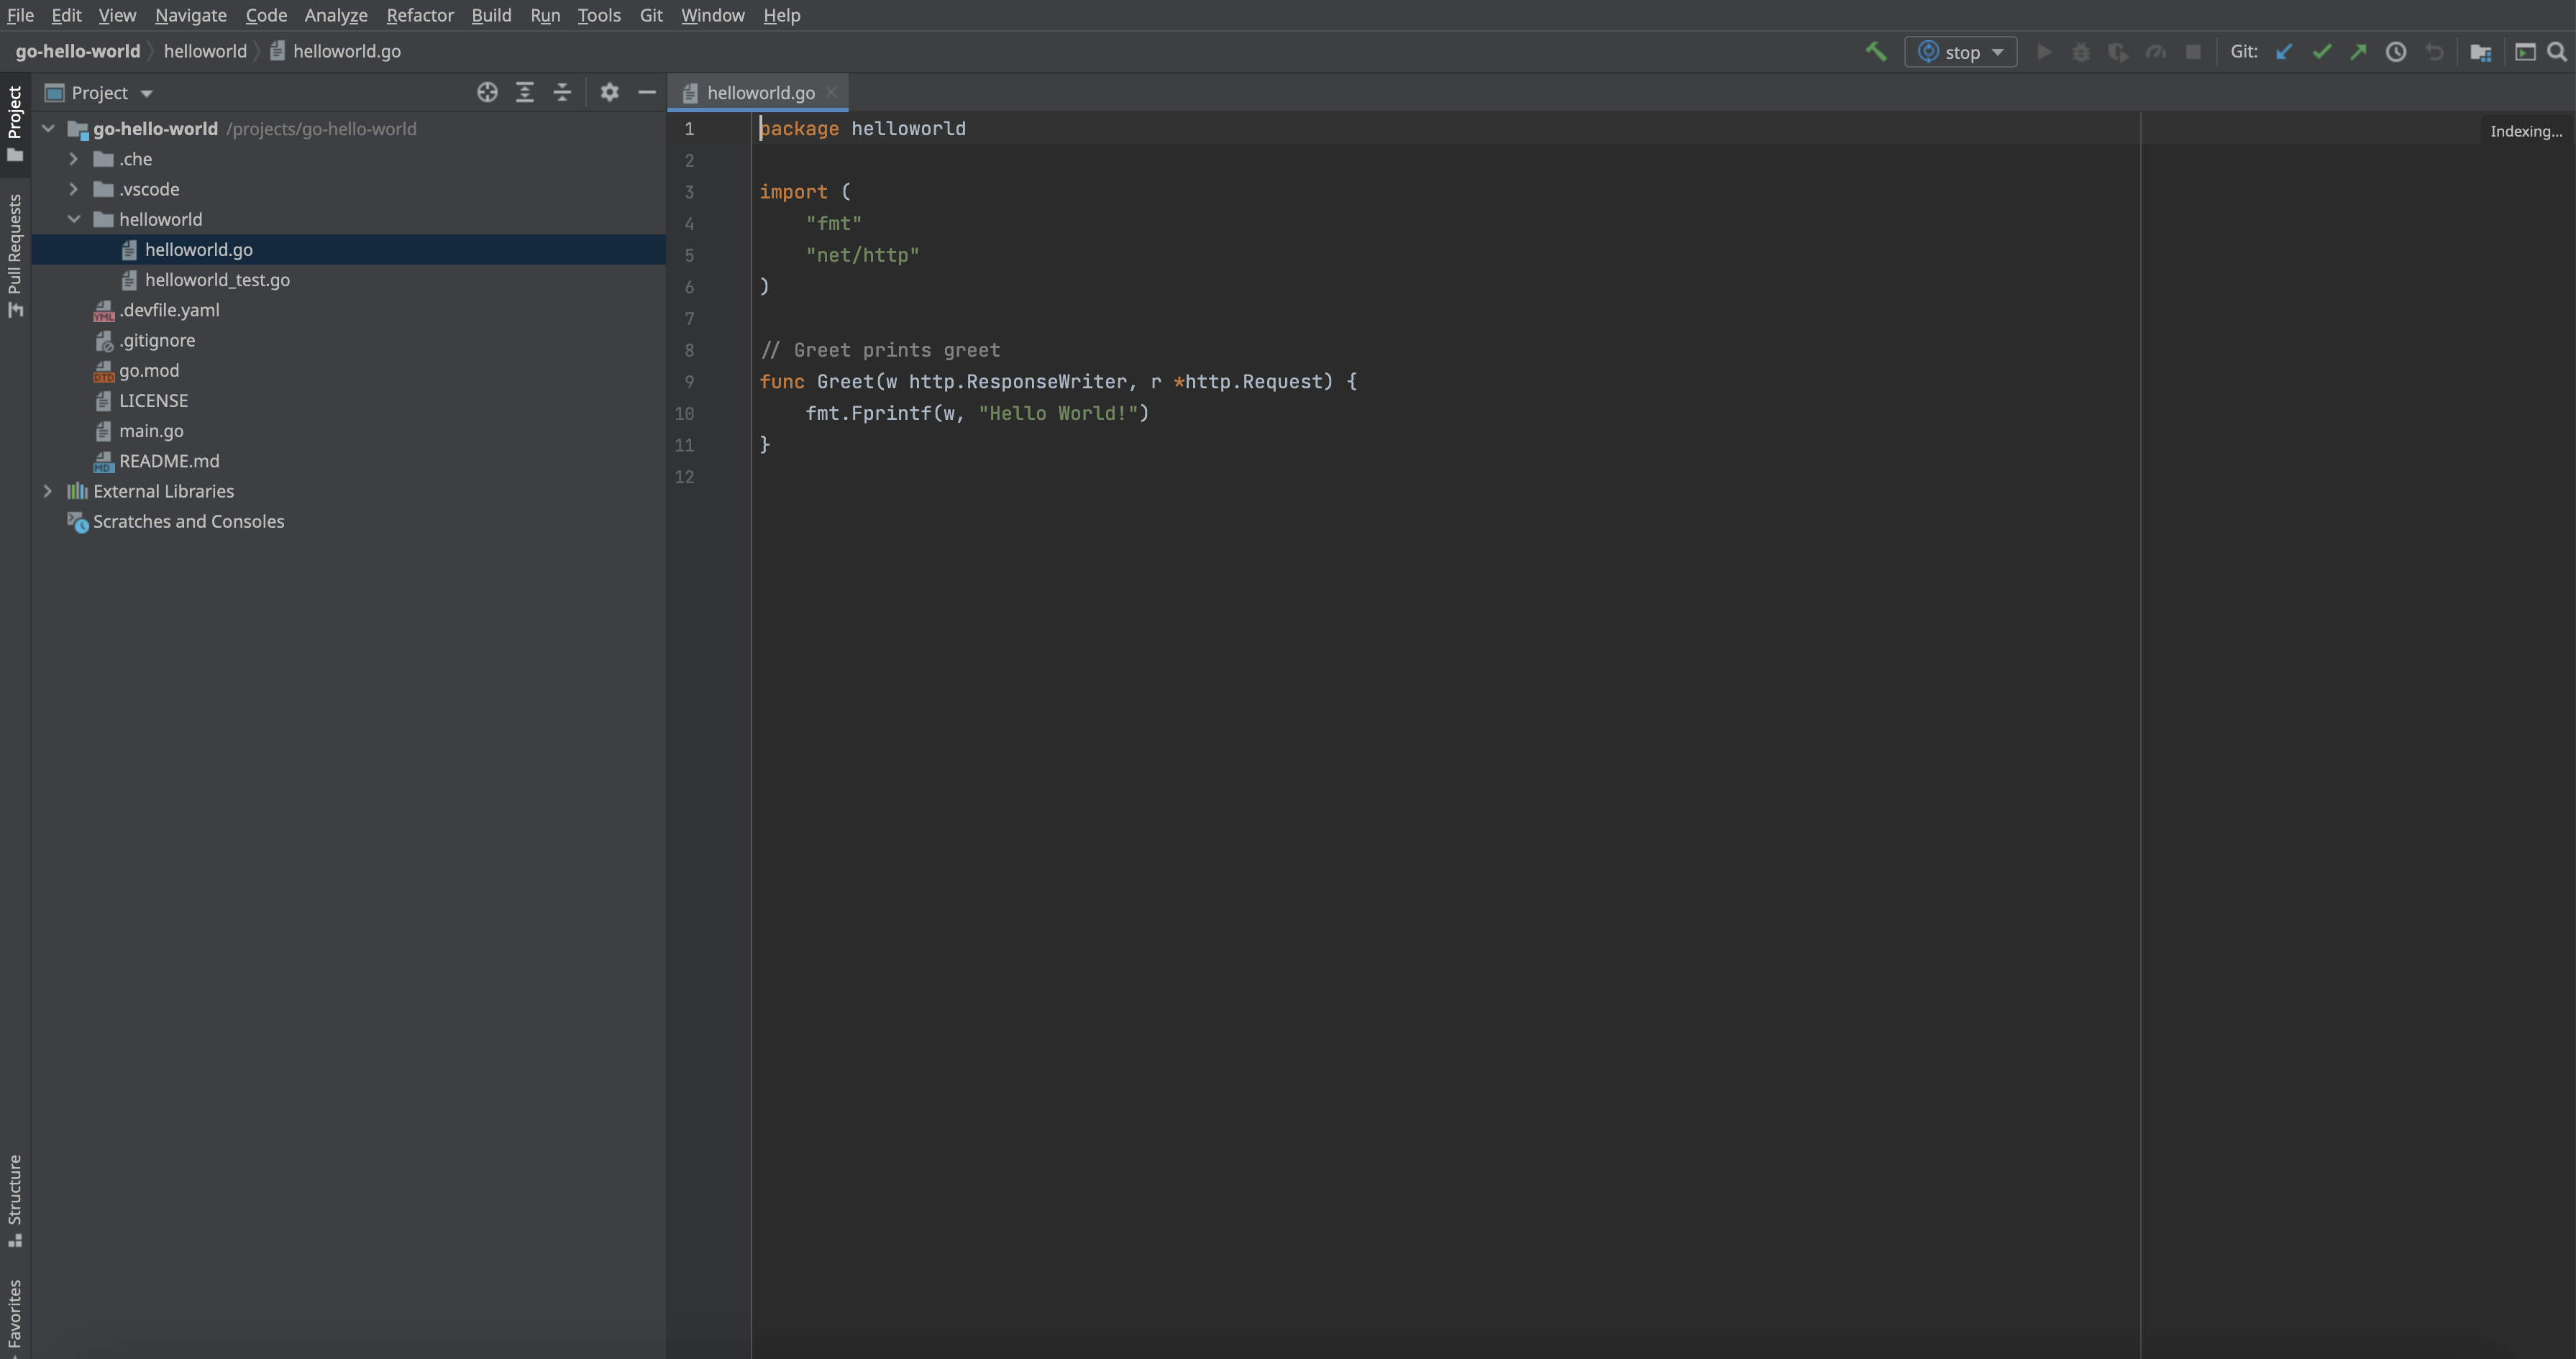 An IntelliJ based workspace.
Add a VS Code extension to the workspace
The extensions view in Visual Studio Code lists available and installed extensions. The available extensions list is retrieved by the online Open VSX Registry. Clicking on the install button adds the extension to the workspace.
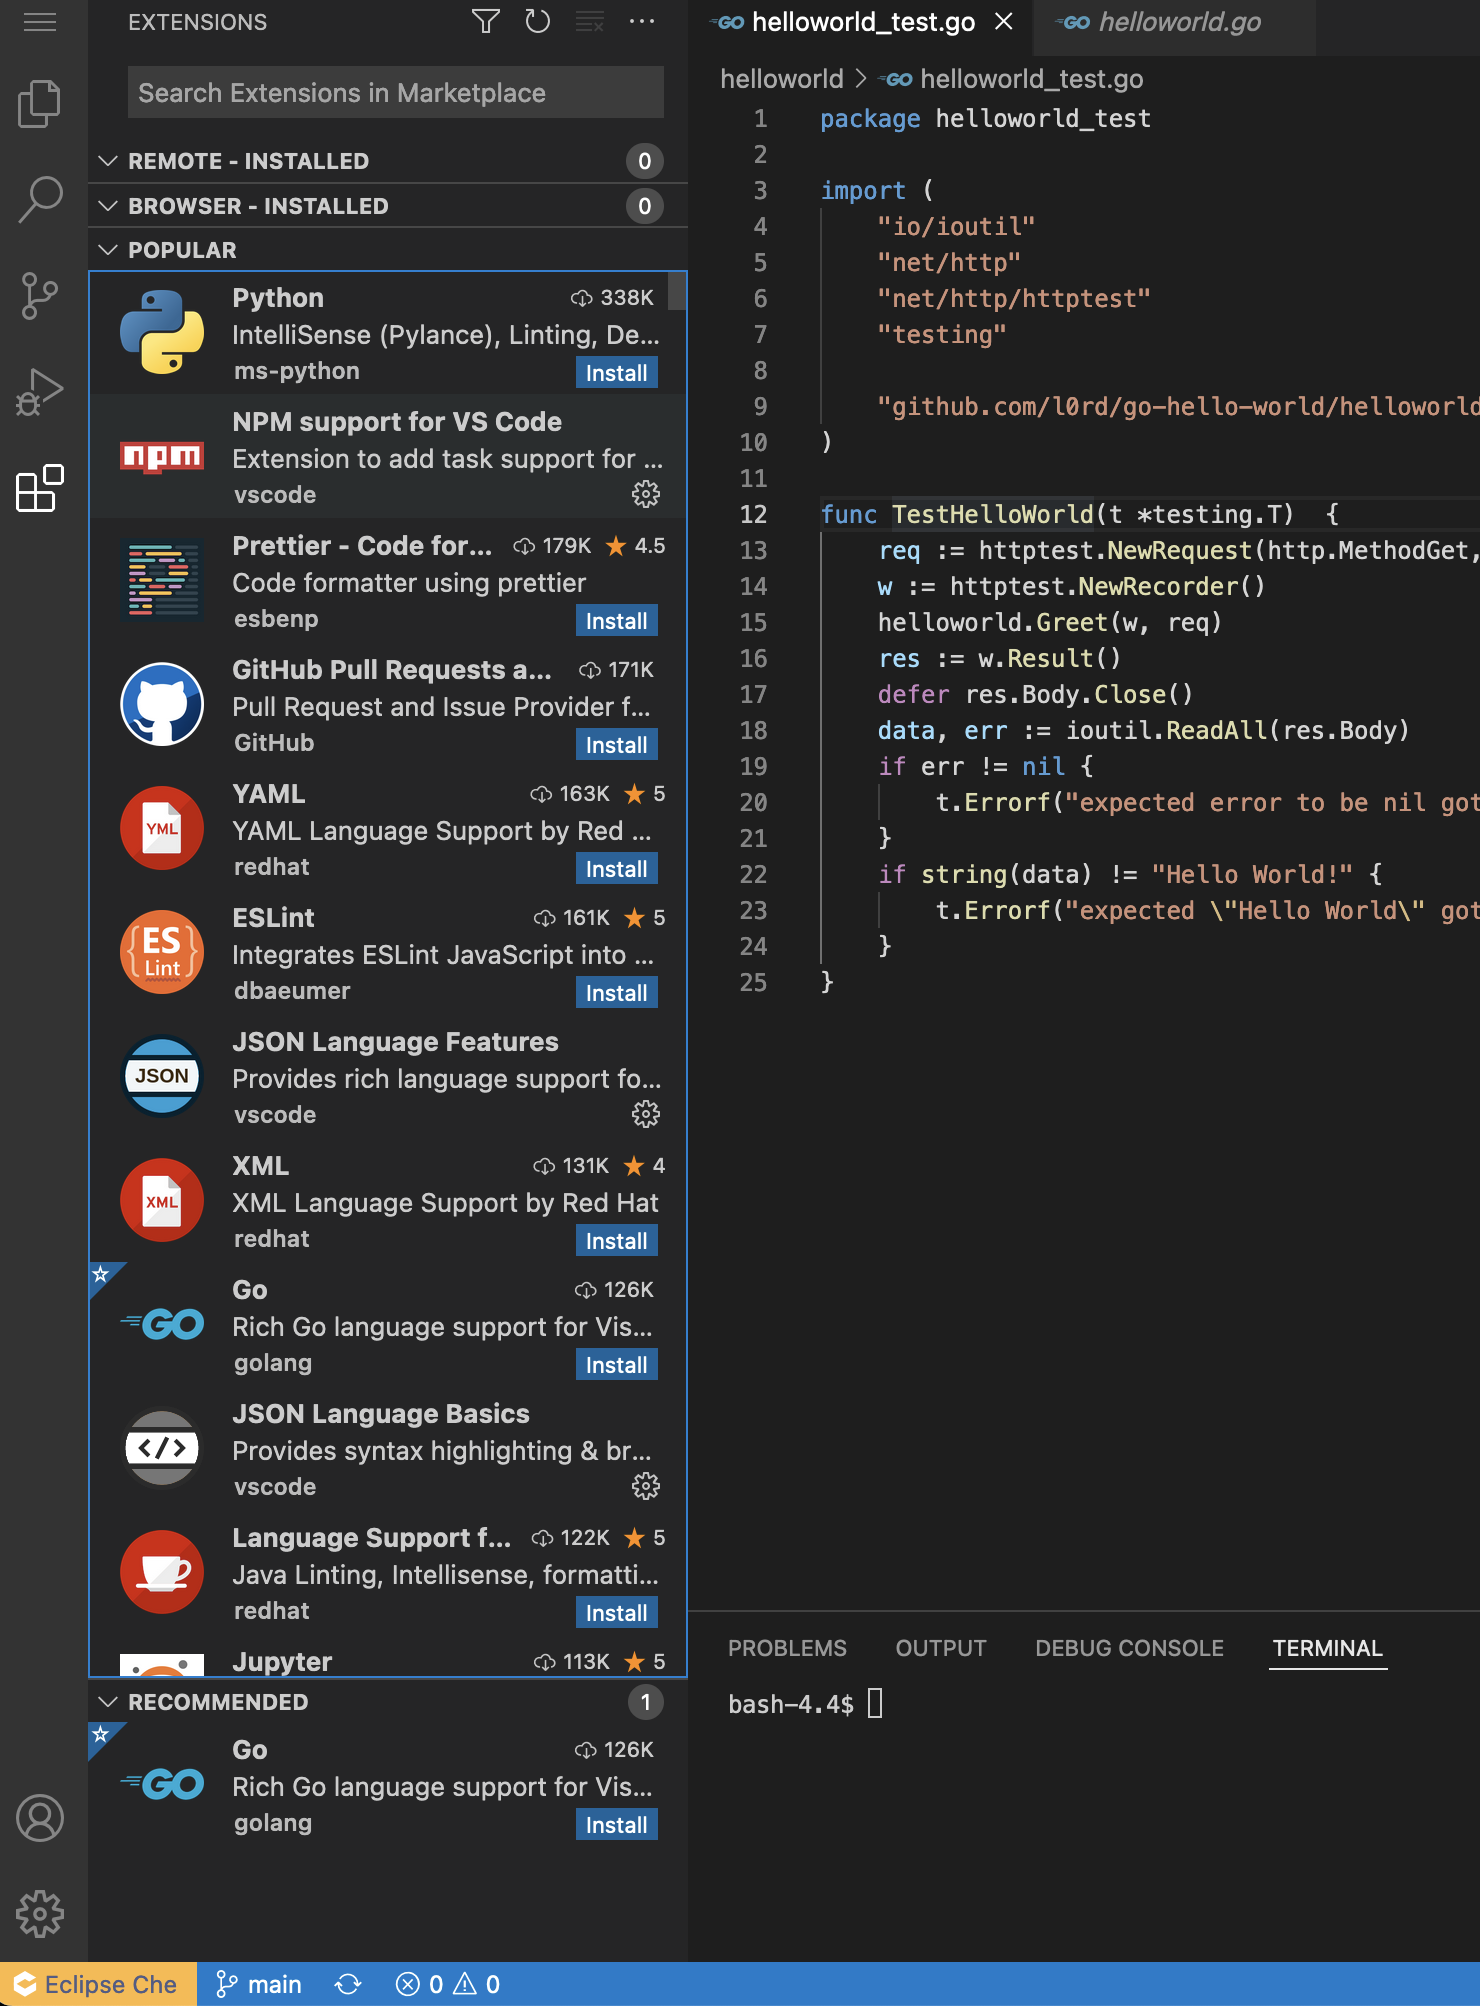 Installed and available extensions in VS Code.
Does that work on Developer Sandbox?
Not yet. We are not deploying the Technical Preview on Developer Sandbox. It will be possible to start VS Code and IntelliJ based workspaces after the release of CodeReady Workspaces 2.16.
Known issues
👉 The above instructions are not supposed to be tried in production. Most of the features described are still work in progress and here is a list of known issues (and sometimes fixed upstream).
- Bad Gateway error when opening VS Code (workaround: refresh the page)
- CPU limit count problem (workaround: do not specify CPU limits in the devfile)
- Websocket closed after a couple of minutes (workaround: refresh the page)
- Workspace restart fails (workaround: manually patch the DevWorkspace object and set
spec.started: trueor delete the workspace and start a new one) - VS Code and JetBrains feature gap compared to Theia